Hiking
Winter Hill Walking in Scotland: Essential Skills and Safety Tips
Scottish winter has a reputation, and it earns it. You can leave the car park in drizzle, cross a burn in spate, climb into a wind that takes your breath sideways, then spend the last hour on a summit plateau where the snow is thigh-deep in one place and glass-hard in another. That variability is the appeal. It is also why winter walking here asks for more skill, kit and judgement than the summer version of the same hill.
None of it needs superhuman ability. It needs a handful of learnable skills, gear that works when it is soaked through, and the discipline to turn round when the day says so.
Start with the snowpack, not the summit
Most winter accidents in Scotland involve wind slab — snow that has been transported by the wind and deposited on lee slopes, often in gullies, on the sheltered side of ridges, and on slopes between roughly 30 and 45 degrees. The Scottish Avalanche Information Service publishes a daily forecast for the main hill areas through the winter season, breaking the hazard down by aspect and elevation. Treat it as a route-planning tool rather than a formality. If the forecast warns of considerable hazard on north-east aspects above 900 metres, that is not general background noise: it tells you which slopes to avoid and which side of the ridge to climb.
Wind loading builds through the day, so a slope that was settled at nine in the morning can be loaded by mid-afternoon. Aspect matters more than most people expect, and so does the difference between a broad shoulder and a narrow gully.
What to watch for on the hill
- Shooting cracks and whumpfing. A sharp crack running out from your boots, or a hollow thump as the snow settles, is the snowpack telling you it is loaded and unstable.
- Cornices. The fracture line can be several metres back from the visible edge, and the windward side gives you almost no clue. Stay well back and avoid walking along the top of a corniced rim.
- Terrain traps. Gullies, crags below a slope and narrow couloirs concentrate anything that slides. Even a small slide in the wrong place has serious consequences.
- Recent deposits. Smooth, chalky-looking slabs on lee slopes, often with a texture that differs from the surrounding snow, are worth avoiding entirely.
Carry a transceiver, probe and shovel if you plan to be on serious ground, and learn how to use them properly before you go. They are not a substitute for picking a safer line.
Navigation when there is nothing to look at
A whiteout does not just hide the view. It removes the horizon, flattens depth perception and blurs the boundary between snow slope and sky. The classic error is walking for twenty minutes convinced you are on the ridge, then discovering you are well off line on the wrong side of the bealach with the light going.
Map and compass stays the primary tool. GPS and phone are backups, and cold flattens batteries quickly, so keep them in an inside pocket and carry a paper map in a waterproof case.
Skills worth practising before you need them
- Pacing and timing. Count double paces over a known distance on flat ground, then recalibrate for uphill, heather, deep snow and loose scree. Learn what 200 metres feels like in each.
- Aiming off. Deliberately aim to one side of your target — usually uphill or upwind — so you know which way to turn when you reach the feature.
- Handrails. Ridges, streams, old dykes, fences and forest edges give you something to follow. Scotland has plenty of them if you plan for it.
- Contour interpretation. On a blank white slope, the shape of the ground under your feet is the only information you have. Practise reading it.
- Reverse bearings. Know how to walk back the way you came without guessing.
- Magnetic variation. It is small in the UK, but know how to apply it rather than assuming it does not matter.
Do this on a familiar hill in poor weather, where getting temporarily mislaid costs nothing but pride. Keep the group within sight, count heads at every stop, and agree who navigates on each leg.
The kit that earns its place
Boots and crampons come first: a stiff-soled boot with a proper heel welt, and crampons that genuinely fit it. Check the fit at home, not in a layby in the rain. Then an ice axe, plus the skill to use it — self-arrest is worth a few hours of practice on a safe, soft slope before it matters.
- Goggles, not just sunglasses. Spindrift and driving snow make glasses useless.
- Two pairs of gloves plus warm mittens and over-mitts.
- A shell that copes with sustained wind-driven rain, re-proofed before the season.
- A synthetic insulating layer kept dry in the pack, plus a spare hat and balaclava.
- Group shelter and a personal survival bag.
- Headtorch with spare batteries, and a small backup torch.
- Flask, high-energy food, and more of both than the walk seems to warrant.
- Whistle, first aid kit, and a phone in a dry bag with a power bank. In an emergency, dial 999, ask for the police, then mountain rescue. Know your grid reference before you need to give it.
Layering matters as much as the list: base layer, mid layer, insulation, shell. Avoid cotton anywhere near your skin. Trekking poles help enormously on the approach, but stow them when the axe comes out.
Choose a route with margin
Pick something you would be comfortable doing in summer and then add a grade of difficulty and a few hours of time. Winter routes are graded, and a straightforward summer path can become a serious proposition once it is banked out with old snow and glazed with verglas. Read the guidebook description properly, not just the distance and ascent.
Daylight, cold and the turn-around time
Midwinter daylight in the Scottish hills can be under seven hours, and the short days are compounded by deep snow, broken crust and slow progress. Agree a turn-around time before you set off and stick to it, even if the summit looks close. Wind chill is the other quiet factor: a moderate temperature with a strong wind feels far colder than the thermometer suggests, and cold hands make simple tasks like clipping a crampon strap genuinely difficult. Eat and drink before you feel hungry, not after.
A short routine before you leave the house
- Read the avalanche forecast and the mountain weather forecast together, and decide which aspects and elevations to avoid.
- Write down the route, the escape options and the turn-around time. Leave a copy with someone.
- Check the kit list out loud, including headtorch batteries and crampon fit.
- Confirm the group has at least two people who can navigate on a bearing, and that everyone knows the plan.
If you are new to winter, a skills course with a recognised provider is the single best investment you can make — the skills last far longer than any piece of equipment. Failing that, go out with people who have more winter experience than you, ask questions, and be honest about what you are comfortable with. The hills are not going anywhere.
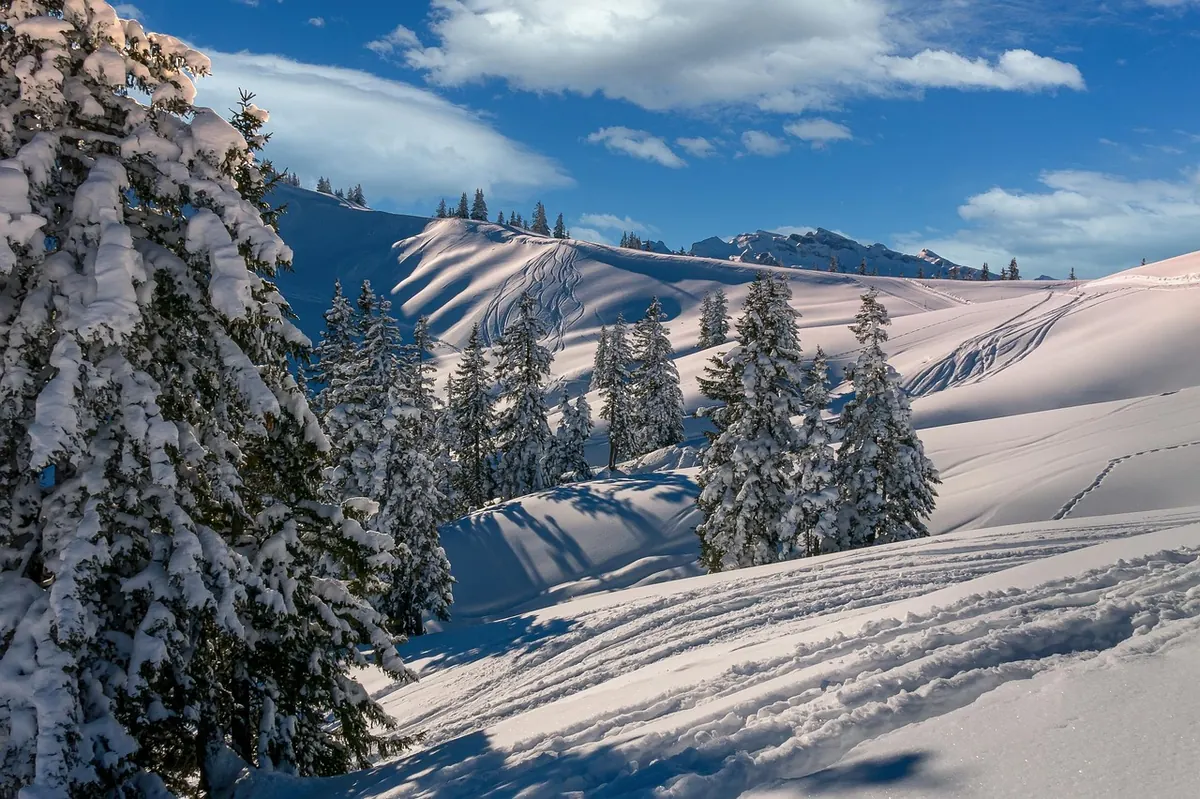
Photo: Sonyuser / Pixabay