Climbing
Indoor to Outdoor Climbing: A Beginner's Guide to Your First Trad Route
Your first trad route will not feel much like the climbing wall, even though the holds are the same sort of shape. The rock is greasy in places, the line wanders, the top is further away than it looked from the ground, and the protection is a rack of metal that somebody has to place. That gap between the wall and the crag is bridged in the same way it always has been: by seconding routes, cleaning gear and learning from people who have been doing it for years. Here is how to make that first step a good one.
What trad actually means
Traditional climbing means you place your own protection as you go, then take it out again afterwards. There are no bolts to clip and no fixed lower-off to aim for. On a single-pitch route, the leader climbs first, placing nuts, cams and slings, and builds a belay at the top. You follow as the second, removing everything they placed and carrying it up with you.
Two things follow from that. The leader carries the decisions: where to put gear, how good it is, and whether to keep going. The second has a different job entirely — they get to learn the rock, the moves and the gear without the pressure of placing any of it. That makes seconding the best classroom in climbing, and it costs nothing except a day out.
Learn to second before you learn to lead
You do not need to lead anything in your first outdoor season. Aim to second a dozen routes before you think seriously about tying in at the sharp end. Follow people who place gear well and watch what they do: how they judge direction of pull, where they extend slings to reduce rope drag, how they build a belay on a ledge with three decent bits of gear and no more.
If you don't have a friend with a rack, a local climbing club is the cheapest way in — most are full of people who would rather climb with a keen beginner than not climb at all. A day with a qualified instructor, such as someone holding Mountain Training's Rock Climbing Instructor award, is money well spent if you want the fundamentals demonstrated properly and corrected as you go. Climbing outdoors is a risk activity, and instruction is the sensible shortcut.
Skills worth practising before your first route
Gear, on the ground
You can learn most of what matters at the base of the crag, without leaving the floor. Find a crack, place a nut, clip a sling to it and weight it gently. Then place a cam, check the lobes are retracted properly and the pull direction is sound. Take them out again. Do it twenty times. The mechanics of removing gear — pushing a nut out with a nut tool, squeezing a cam's trigger — should be boring before you rely on them twenty metres up.
Rope work
Learn to coil and carry a rope, tie in with a figure of eight, and belay from above as well as below. Belaying a second from the top of a crag feels odd the first time: the rope runs over an edge, you can barely see your partner, and communication is mostly shouting. Practise it somewhere low and safe.
Abseiling and reading a topo
Some crags let you walk off; plenty don't. An abseil with a prusik backup is a basic skill, not an advanced one. And learn to read a topo before you're standing underneath the route — the line, the belay ledge, the descent and any escape options.
What to put in your rucksack
You don't need to own a rack to second. You do need your own personal kit, and a few things that make a long day at the crag bearable.
- Helmet, harness and rock shoes, plus comfortable approach shoes for the walk in.
- Belay device and two locking carabiners.
- A nut tool — borrowed gear gets stuck, and it's rarely yours to lose.
- A prusik loop or autoblock for abseiling and emergencies.
- Chalk, tape and a small first aid kit.
- Water, food, a warm layer and a waterproof, even on a sunny forecast. Crag bases are cold and shaded.
- A headtorch. Days get long when you're learning.
- The guidebook or a printed topo, and a note of the access arrangements and any nesting restrictions for the crag.
Seconding your first route, step by step
- Sort yourselves out at the base. Helmet on, harness checked by your partner, gear racked on you ready to receive more.
- Belay the leader and pay attention. Watch where the rope runs, watch which pieces go in, and note anything that looks awkward.
- Wait for the call that the leader is safe. Only then take them off belay and set off, calling "climbing" as you go.
- Climb the route, don't fight the gear. It's fine to rest on a piece. It's not fine to pull sideways on it and test it in a direction it wasn't placed for.
- Clean each piece as you reach it. Unclip the quickdraw or sling from the rope first, then remove the gear — never the other way round.
- Rack as you go. Nuts on one side, cams on the other, slings on a bandolier. A tidy second is a fast second.
- Check your rope. Keep loops short, don't stand on it, and don't let it run behind a flake where it will jam.
- Hand the rack back at the top and sort the rope before anyone moves. Then walk off or abseil, on the leader's instruction.
Small mistakes that cause big faff
The classic one is unclipping a piece of gear from the rope at the wrong moment, or dropping it — always shout "below!" and never assume the ground is empty. New seconds also tend to rush, then get tangled in the rope and stop communicating. Use names, use clear short words, and agree the calls before you start. On a windy crag, a rope tug is more reliable than a shout. And if your partner is out of sight, stop and sort it out rather than guessing.
Then there's etiquette. Park where the guidebook or access notes tell you, keep gates shut, take all your litter home, and respect seasonal restrictions on nesting birds and any requests about chalk or cleaning. Access in the UK depends on climbers behaving well, and it only takes a few thoughtless visits to put a crag out of bounds.
Your first route: a practical plan
Pick a crag with a short walk-in, a clean easy-angled route and an obvious descent. In UK grades, a Diff or VDiff single-pitch route is plenty for a first day; something with a ledge halfway up is even better, because it lets you stop and look at the gear without pressure. Go with someone experienced, start early, and treat the day as a lesson rather than a tick list.
Before you leave, agree what you're each doing at each stage: who belays, who racks what, where you'll meet on top and how you'll get down. Take a photo of the topo on your phone as a backup. Then get out there often — three or four short days will teach you more than one ambitious outing, and the gap between the wall and the crag closes faster than you'd expect.
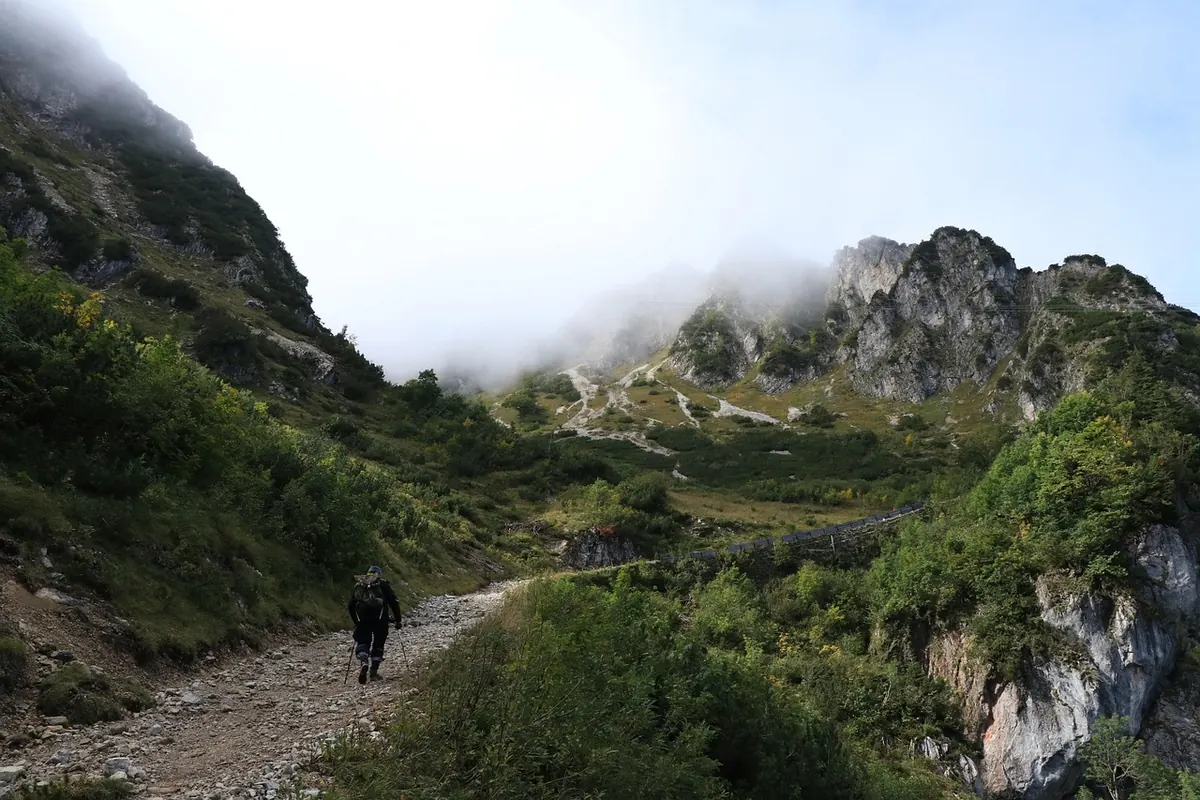
Photo: Marjonhorn / Pixabay